No Free Horses!

No Free Horses!
Shiloh - a rescued horse (date was 7/14)

Wednesday, April 7, 2010

Re-enactment at the Cherokee Strip Museum

The Saturday before Easter, I decided to leave the ranch work behind and go to a nearby town to see a mini-reenactment featuring Mountainmen and the Delaware Indians.  I heard that there would be dancing and singing as well as story-telling . . . so grabbed my camera and arrived just after 1:00 o'clock in the afternoon. 

As I approached the Museum, there were lots of tee-pees and tents set up . . .

 
and a one-room schoolhouse . . .


I arrived during a song/dance to honor veterans of the Delaware Indian tribe:


This man is the friend of a friend, and he patiently explained to me the significance of the beading on his skirt . . . He had made some of his leather clothing/moccasins, and a friend of his had made his leggings.

The beaded stars on his skirt represent his three sons, one of whom has died.  The red, yellow, and green wedges represent the circle of his life.
There were hollow deer "toenails" hung from rawhide just below his knees, and I was told that they made noise to confuse enemies who were then unable to gauge the number of approaching Indians when they were moving through the trees or in the dark.

After listening to a mountainman story/song . . .

I went to see what the mountainmen and craftsmen had brought to trade.
There were guns,
A matchlock . . .
other valuable items like brass candlesticks, strong drink, knives, oil lanterns . . .
and even turkey feather "kites" for the children . . .
There was even a jail for outlaws . . . and the most hardened of criminals . . .
It was a beautiful day for the reenactment, although windy . . .
and I learned some new things as I talked with some of the people who participate in these reenactments around the country.
There will be another reenactment next weekend . . . with many more tribes represented, and a Renaissance Festival is planned for August. 
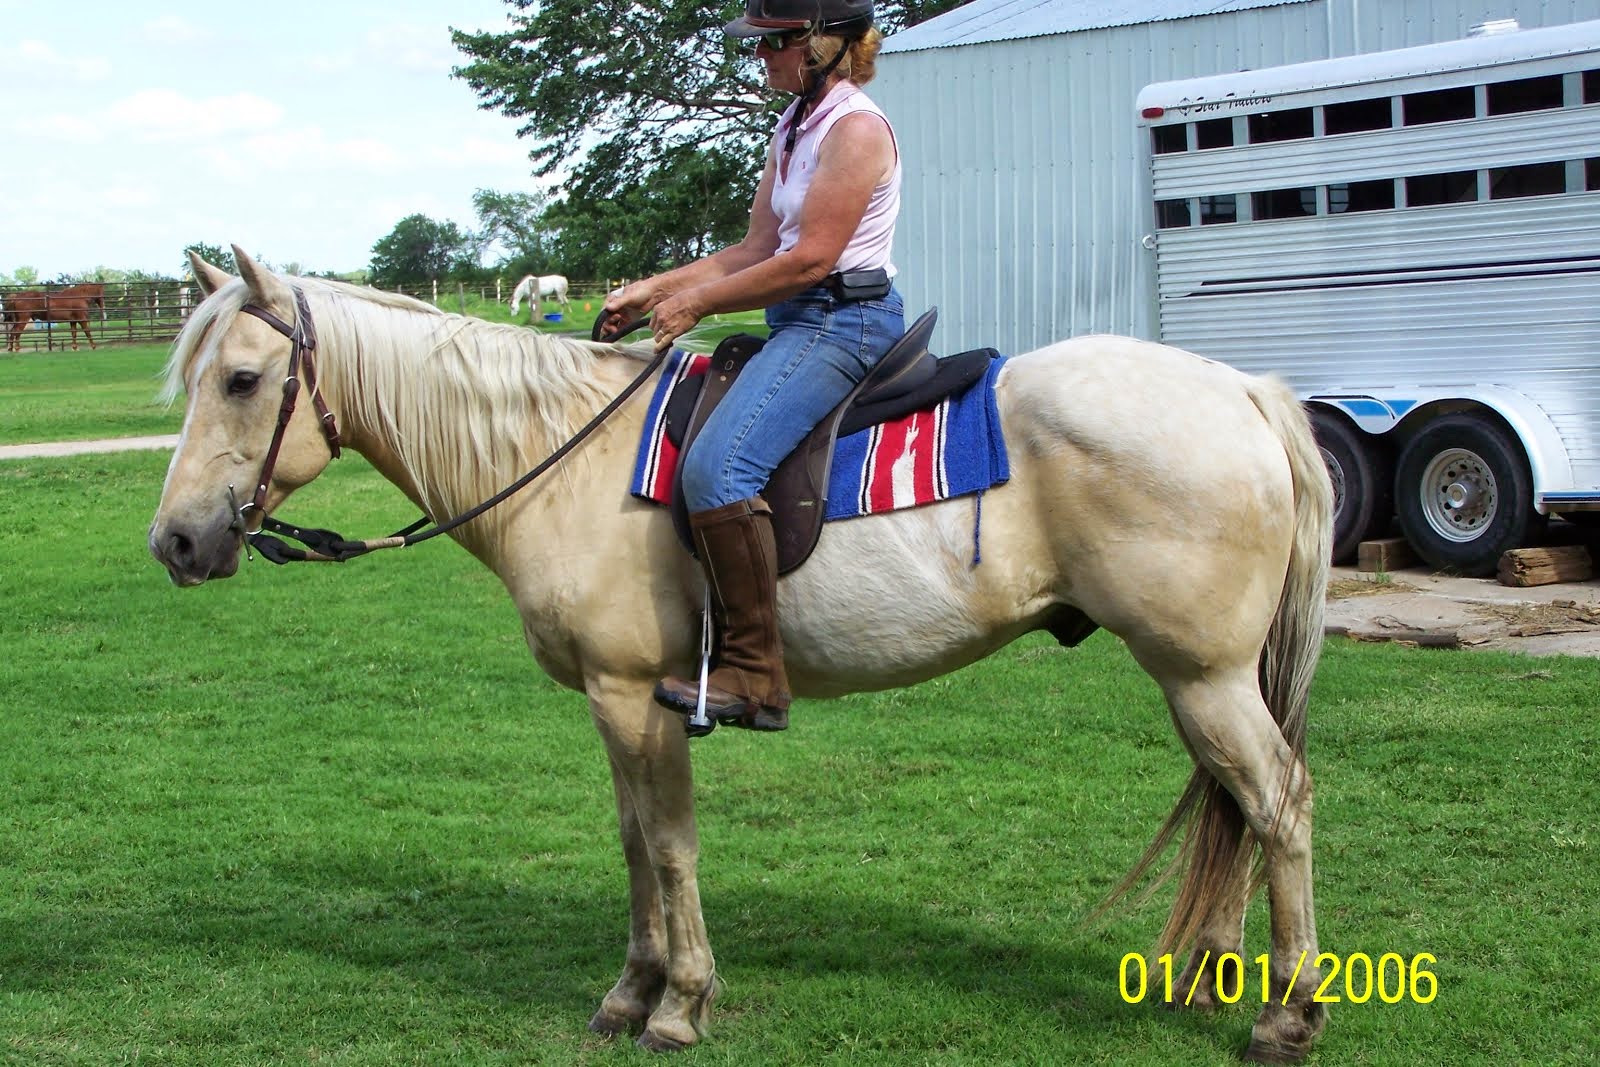
It was a nice break from working at the ranch . . . and as one friend said, "The ranch work will be there tomorrow . . . "  It was refreshing to get away from the routine and have some new experiences and meet new friends.

Patching Troughs and Digging Post Holes

I found something at Wal-Mart . . . called "Water Weld."  It is a small roll of clay-type substance.  You cut off as much as you need (not much) and "mush" it up to mix the ingredients that cause it to harden . . .  and it can then be used to patch just about anything.   In my case, I needed to patch two Rubbermaid Fiberglass Water Troughs that had suffered from my using a pickax this past winter to remove "foot-thick" ice from the sides of the troughs.  Mostly, there were a few small holes, but in one case, I actually cracked the trough when I broke through the ice.

The Water Weld instructions require that the item to be patched be clean and sanded . . . So, I sprayed the areas around the holes with a cleaner for electric equipment . . . and sanded the area around the holes with medium grain sand paper.
Materials for patching

Crack in trough . . .
and a few holes.

Then, I cut off a small part of the Water Weld clay:


I blended it and then, started patching:


It can be smoothed before it dries.


After patching the holes and the crack, I set them in the sun to dry . . . and later that evening, I went back and sanded the dried patches . . .
It Works!
**************************************************************

I also had a few arena fence posts to replace.  I either hit the base of them with the mower platform or with the box scraper whenever I mowed around the arena or combed the sand inside.  I'm not a whiz on the tractor, and a fraction of an inch difference between the width of the loader and the width of the mower or box scraper has foiled my best attempts over the past three years.

So . . . I had three fence posts (actually, landscape timbers) to replace, and they had broken off just below ground level . . . and I wanted to keep the spacing of the posts, so the bottoms of the posts (3-4') needed to be removed from the post holes.

A friend said that he wanted to bring his grandfather's antique, post hole digger over because he had never seen anything dig post holes better . . .
I  was game . . .
Couldn't pull it out with a chain because it was too "punky" and slippery.

Grampa's Antique Post Hole Digger

Another view

So, the digging/drilling began.  Set the digger next to the piece of post and start turning the handle . . .


I was amazed at how efficient this old tool worked when compared with my two-handled "jobbers," which is what I've used for years . . . except when I've used the auger on the tractor.

We were able to get the dirt dug out next to the broken posts so that they could be pulled out.  Now, I can replace the posts and get the arena fence up . . .
and be more careful about mowing or grading near the fence posts.